Precision Faceting a “Story Gemstone" PART 4
|
The process of precision faceting one gemstone at a time is very involved and takes both time and dedication to the craft. A precision facetor is interested in excelling at their craft and making each and every gemstone a work of art. Having invested the time and money into the design, rough gemstone material, and top equipment, it is understandable that the precision facetor will use their finest techniques and professional expertise to create your story stone.
|
The Story
|
Sandra was passionate about opals. After we talked on the phone, she sent me a link to her website that showed a picture catalog of her opal collection. Her collection was outstanding and she had collected several museum-worthy opal specimens. She had seen some of my faceted opals online and wanted me to facet one of her favorite rough Ethiopian Opal nodules. The faceted opal would not be used in jewelry, but would be set in a prominent part of her opal collection cabinet. This started a serious discussion on the fragility of all opal rough and the possibility of the stone faulting during the faceting process. I am very careful about faceting other people’s stones. If the stone has structural problems, I would rather return the stone than take a risk of ruining someone’s prize possession. I could tell how passionate Sandra was about the project and after she agreed to my faceting terms, she sent me the opal and this was the beginning of the next chapter in her opal’s story. Upon receiving it, I was delighted to find the opal in very stable condition and agreed to cut it for her. We spent several video calls talking about the nature of the opal and that no opals are exactly the same, and what would be the best faceting design to bring out the unique natural beauty of her prized opal. We determined that since the opal was opaque and light return was not a consideration, we would cut a crown on both sides of the stone since it would not be used in traditional jewelry. I finished the stone in the dead of winter and I had to wait to send her the stone because of sub-zero temperatures and the possibility of the stone freezing along the carrier’s path. The weather turned warmer and I sent the stone and she used it to complete another chapter of her opal’s story.
|
Step 4
As we have discussed, working with a precision facetor is an involved and educational process. From understanding the clients needs, to choosing the proper gemstone rough, creating the proper design and using state-of-the-art equipment and polishes, we now come to the very complex and experienced part of the process of faceting the actual gemstone. Everything so far has lead up to the point of starting to reform the rough stone into a finished gemstone. It is this process that will reveal the inner beauty of the natural gemstone as inspired by human desires and artistic expression.
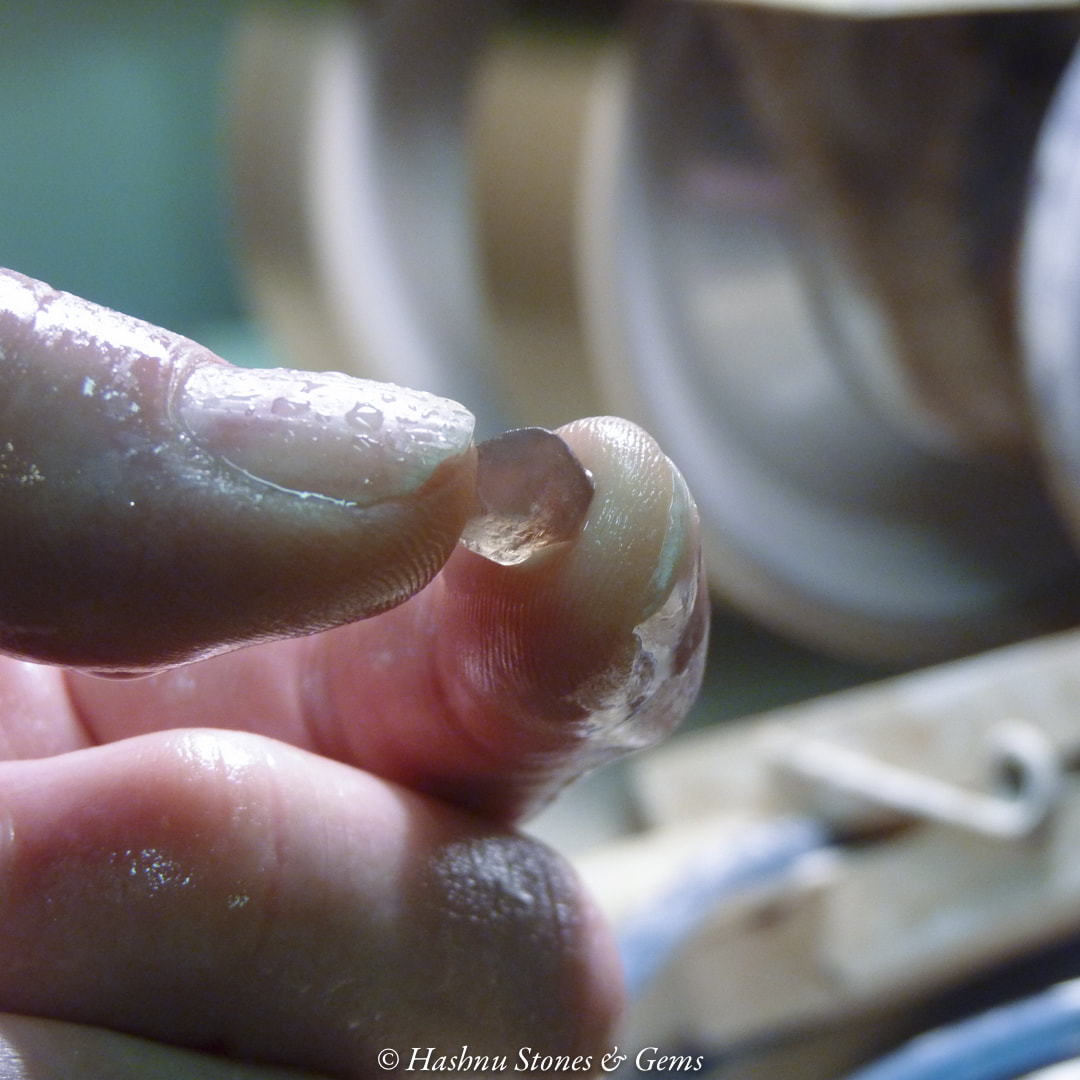
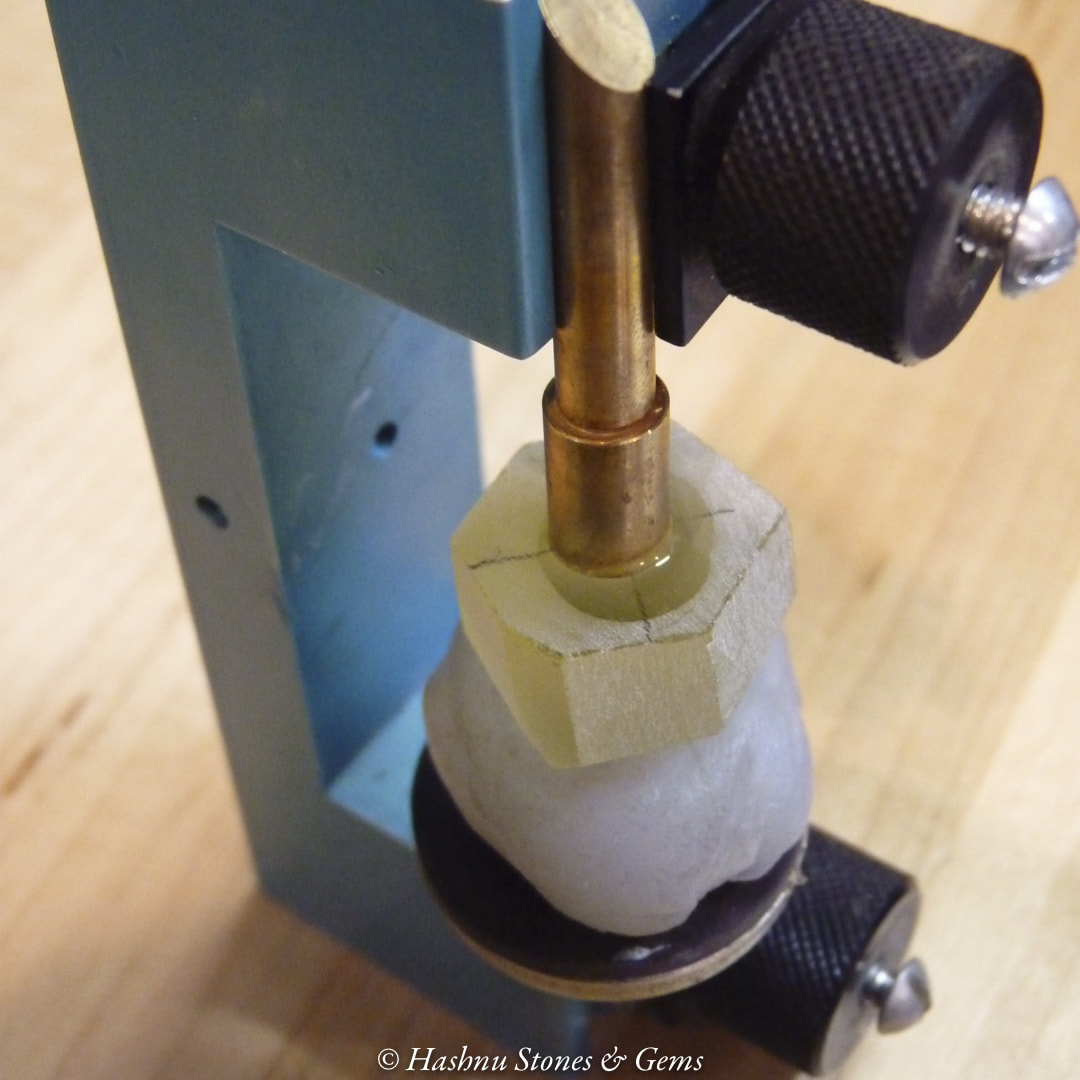
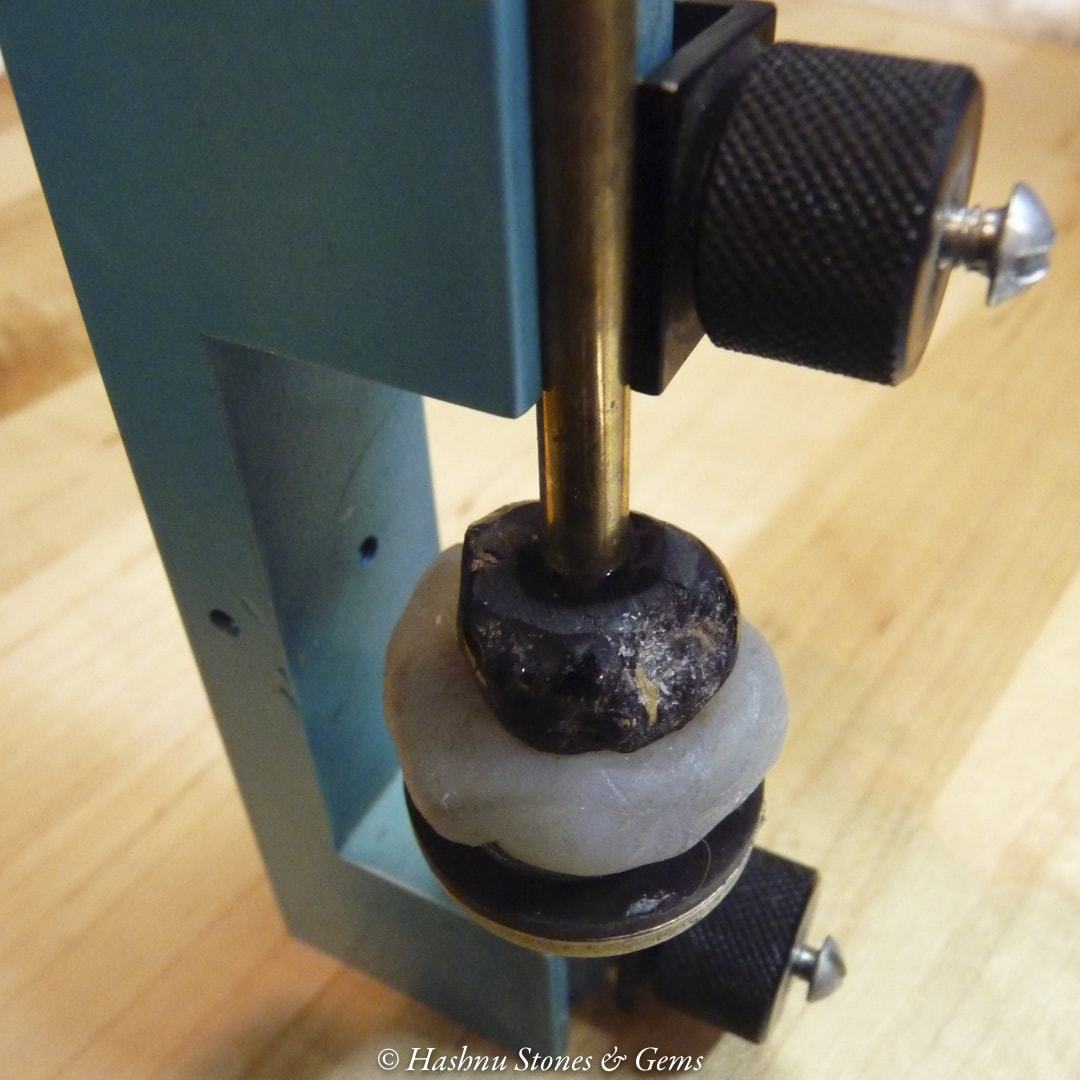
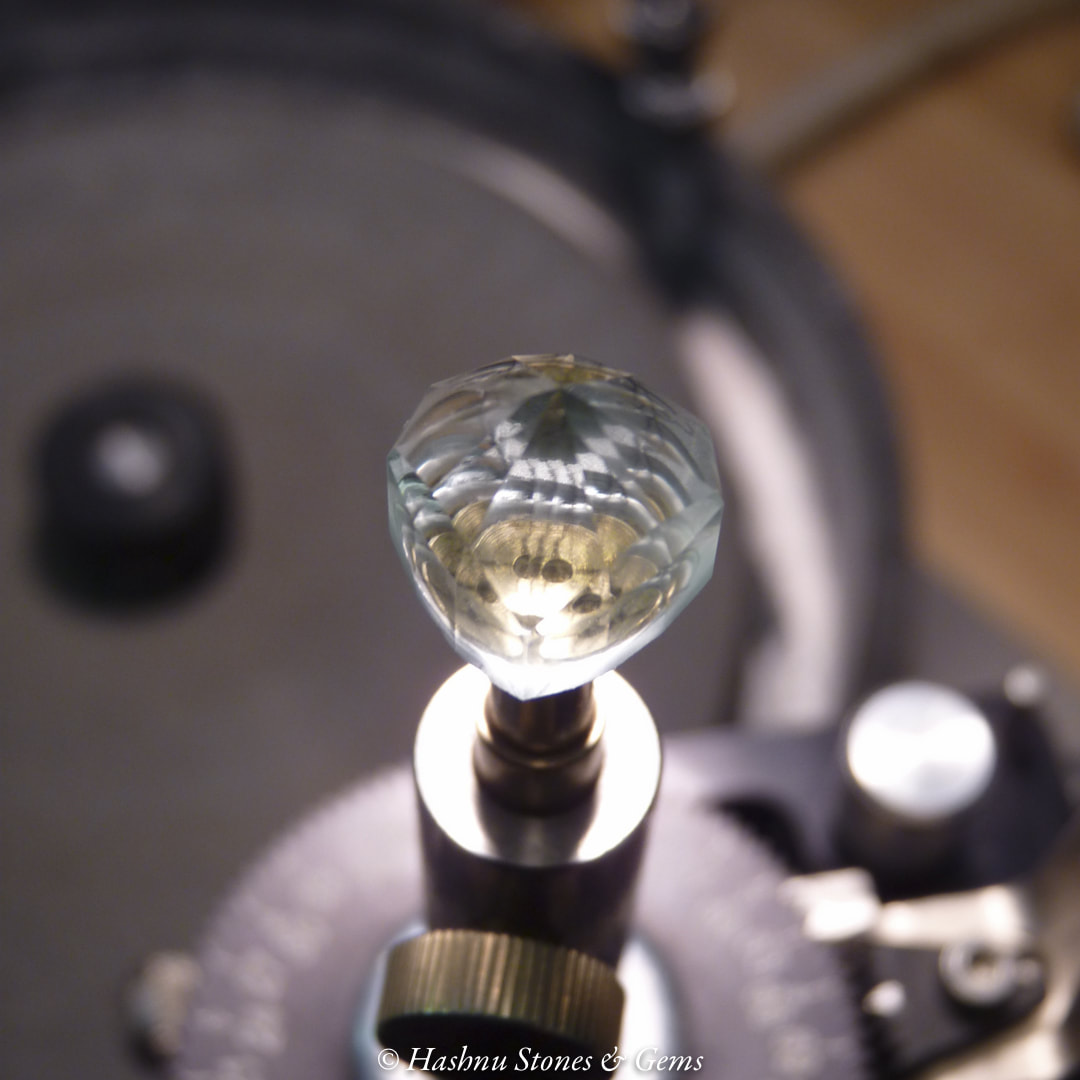
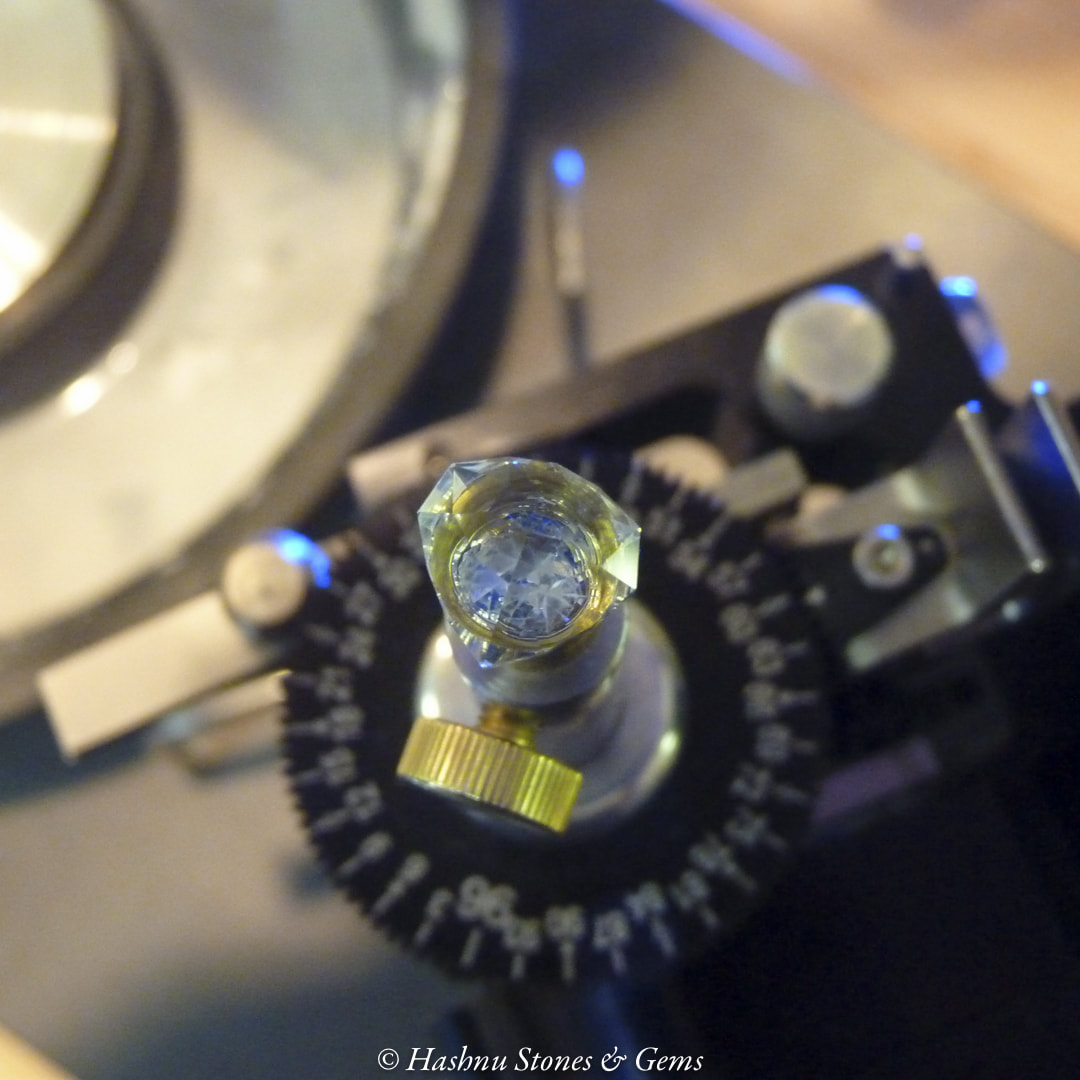
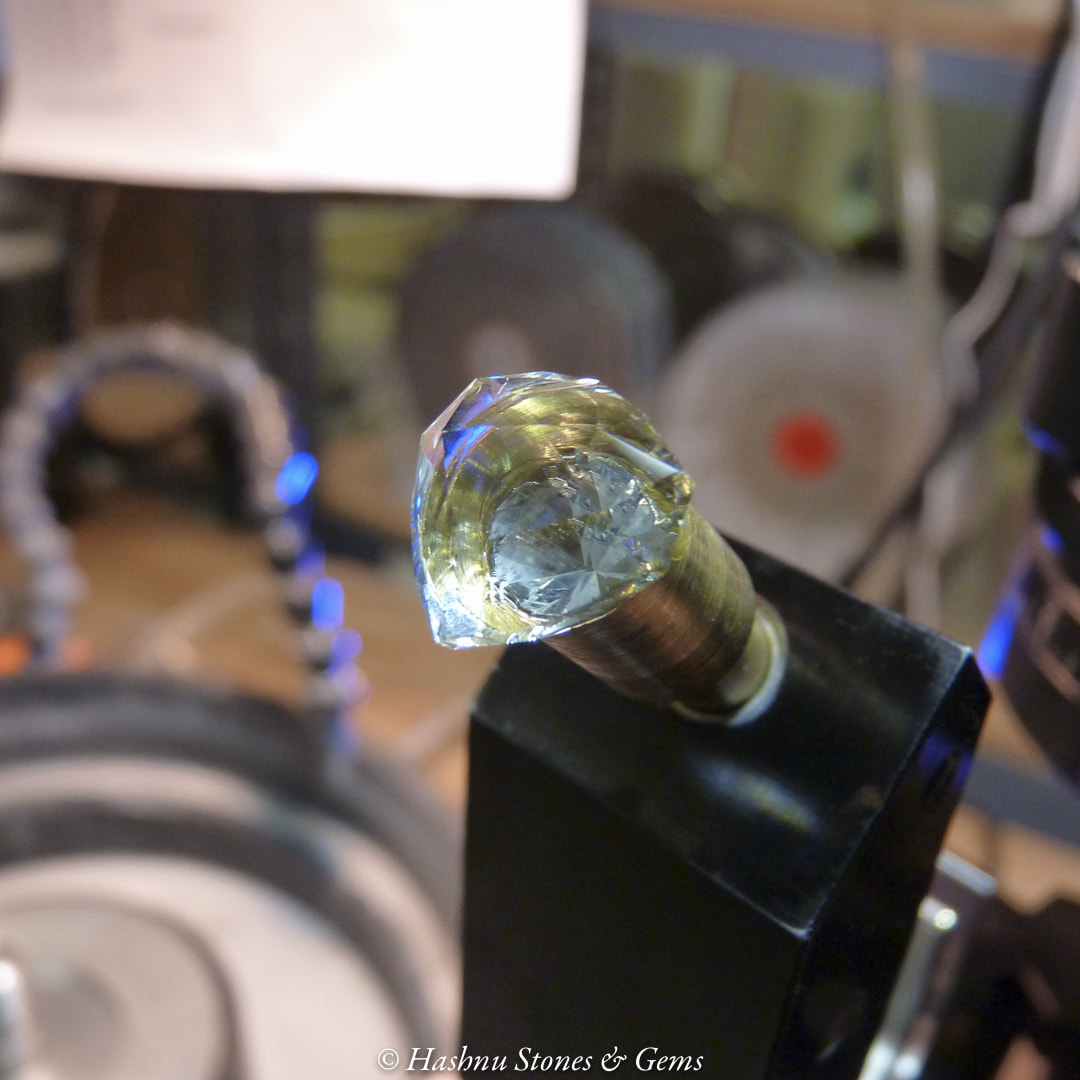
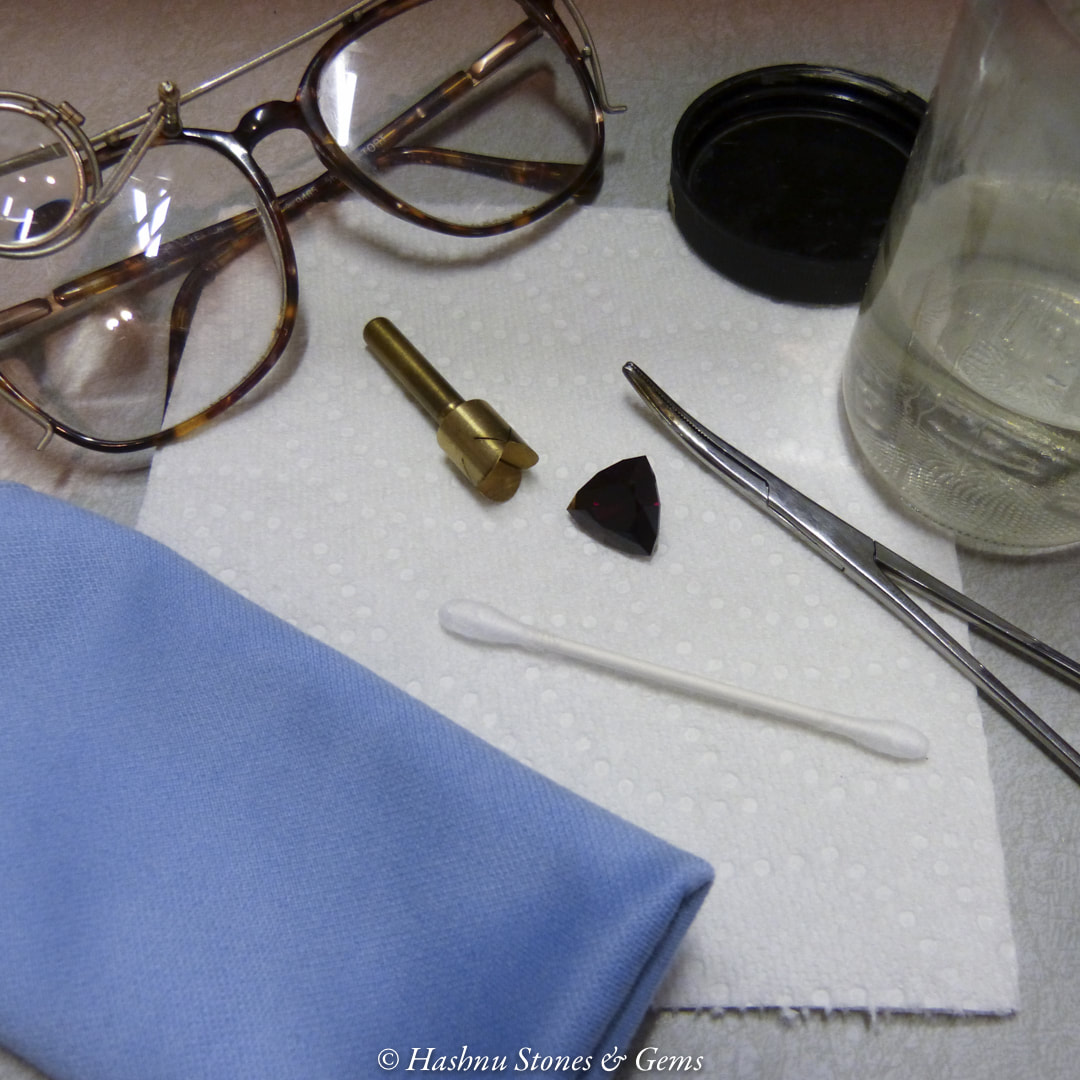
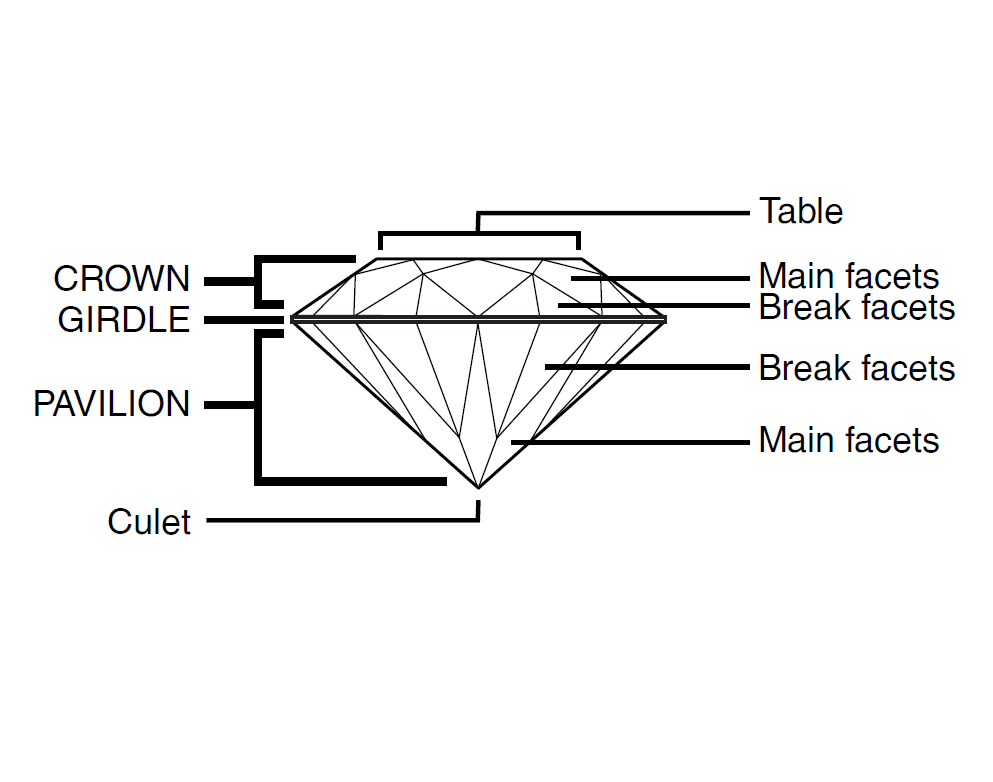
Once the rough stone and design has been selected, the precision faceting process is as follows: 1. Preforming - The rough stone is ground on series of wheels or flat laps to get a basic shape called a preform. This allows the precision facetor to look more closely at the stone and orient the stone properly for dopping. Picture 5.1 2. Dopping - This is the step of fastening the stone to a brass dop (post) that will fit into the spindle of the faceting mast. The stone will now become part of the machine and will not move from the machine until the pavilion is done. Picture 5.2 3. Pavillon - The pavilion is the term used for the bottom of the stone. At his point the pavilion and girdle (the stone sides) are completed. During this process, the final size of the gemstone is set and ready for the crown. Picture 5.3 4. Transferring - Before we can cut the crown, the stone must be redopped so the other side of the stone can be finished. This process is called transferring the stone. Picture 5.4 5. Crown - The crown is the top part of the gemstone and is cut and polished at this stage. The crown will leave a point/peak of facets that will need to be cut off for the gemstone table. Picture 5.5 6. Table - The table is the flat top of the gemstone that allows the light to enter and exit the gemstone. The table is cut and polished at this stage. Picture 5.6 7. The finished gemstone is then released from the dop via heat (to the dop -never to the stone) or chemical to break the glue/wax bond. It is then cleaned and prepared for shipment. Picture 5.7 The description of the above process is very simplified and does not reveal the detail and years of practice it takes for a precision facetor to attain such skills. The cutting and polishing process is a sequence of steps that are described by the design diagram, although there are some precision facetors that will freeform facet based on experience and the design of their imagination. Either fashion of faceting is acceptable. The process of faceting and polishing a gemstone can take from several hours to dozens of hours depending on the nature and size of the stone and complexity of the design. |
|
|
Picture 4.1 Preforming the Sapphire
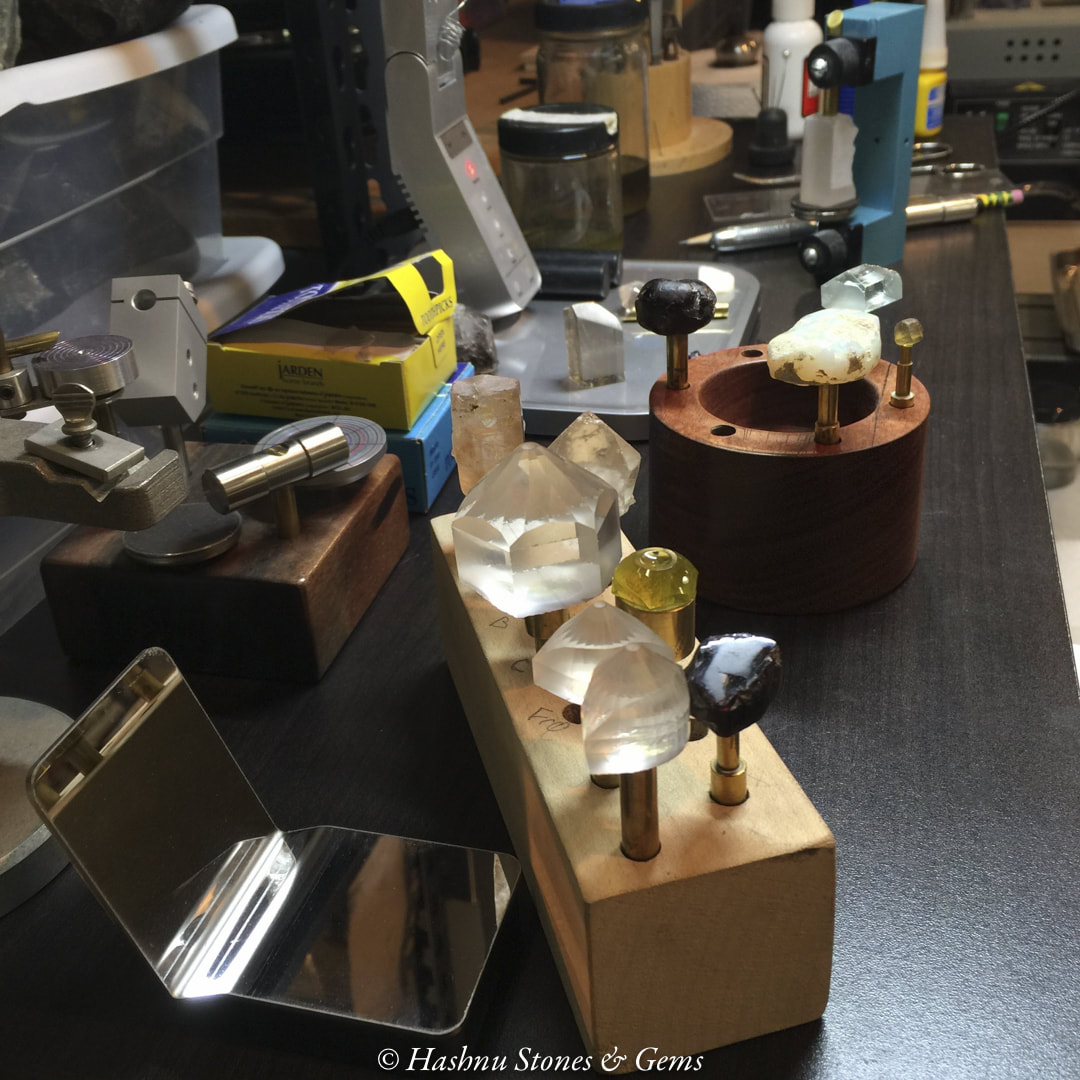
Picture 4.2 Sapphire with flat end ready to dop Picture 4.3 Oro Verde preform dopped and ready to precession facet Picture 4.4 Garnet with flat end dopped and ready to precession facet Picture 4.5 Pavilion finished on Aquamarine and ready to transfer Picture 4.6 Fantasy faceting concave facets on Clear Quartz for design embellishments Picture 4.7 Transfer of Aquamarine from pavilion to crown Picture 4.8 Crown finished on Aquamarine Picture 4.9 Table finished on Aquamarine Picture 4.10 The Rhodolite Garnet released from dop and cleaned Picture 4.11 Dopping station at Hashnu Stones & Gems Studio Picture 4.12 Gemstone Anatomy provided by RKA Studio - http://www.rkastudio.com |